So we wanted to present something that we’ve learned about recently which are putting worm towers in your garden beds to improve the soil keep the soil moist and fertilize everything you’re growing in those beds. It’s something that I have been wanting to do for quite a while, work with worms or vermaculture.
Our garden beds have needed a lot of work and we’ve been working hard over the last three years to build our soil into something we could really grow in.
This year my husband learned about Hugulculture which is something that I wrote about already and put some pictures out there for people to see. It is basically a German method of placing wood in the bottom of your beds in order to capture the moisture from the rains that you get throughout the year and as the wood decays it not only feeds the garden but helps keep retain moisture. Because we live in Eugene Oregon we deal with extreme weather being that in the winter time we get tons of rain which is perfect for the Hugulculture because the wood can soak up all of that rain. Then in the summer we pretty much have a drought we get maybe two rains in summer and they’re not very heavy which means we’re left dealing with watering all the time. Because of this we decided that Hugulculture would be a great option for us. Then we decided after investigating further by watching YouTube videos and reading that adding the vermiculture with the Hugulculture would be an even better option for our garden.
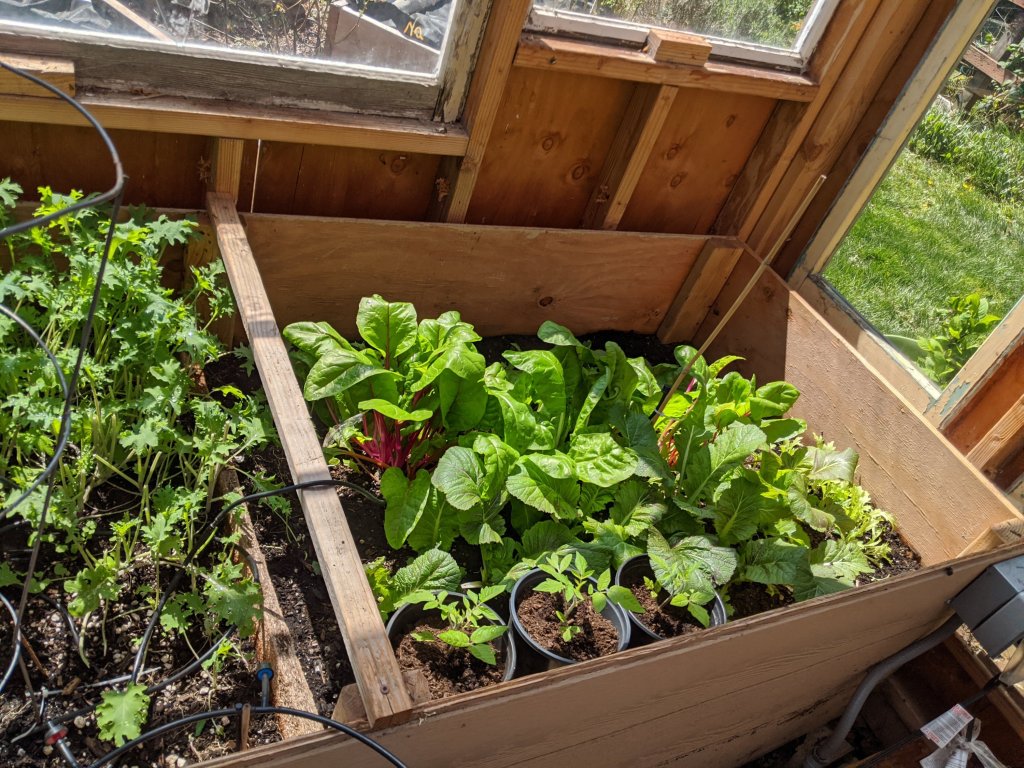
Also I wanted you to see what we have going on in the greenhouse and give you an update on that.
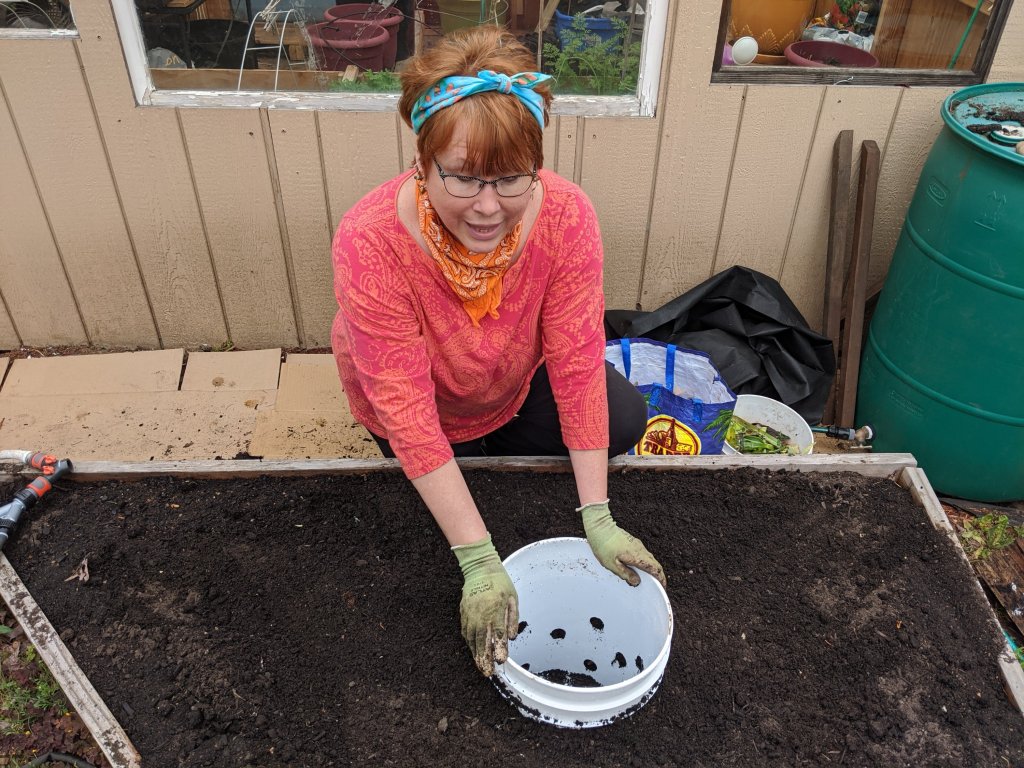
So the way you do this is to start by digging a hole for your bucket which can be sized according to the size of your garden area You cut or drill 3/8-in to 1/2-in holes all throughout the sides of the bucket and a few down at the bottom of the bucket You place the bucket into the hole fill it in around the edges with dirt and then you’re going to start placing your material or matter for the worms. First you fill the bucket about 1/3 full with compost or manure and then you lay down some paper, shredded newspaper, other types of shredded paper, shredded thin cardboard just some sort of bed of paper and then another thin layer of compost. Then you pile in a couple of handfuls of your worms which are composting worms like red wigglers and a few other kinds all mixed in with their dirt and castings and then you top it off by covering them with lots of vegetation and raw leftover vegetable matter that you collect for your compost bin. Next you have to give them water because they need water to breathe so you want to make sure that the water comes up just to the top of the dirt not covering all of that vegetable matter at the top and then you’re going to cover the bucket It doesn’t have to be tightly covered but you don’t want the wind to blow off of it so if you have a windy area you might want to put a rock or something on top of the lid. You want to make sure to put the lid on not just to keep things out of it but also worms do not like light so this will allow them to live in the dark and come up and grab the food and eat it and turn all of that into poop which is their worm castings which is what is going to feed your garden and be amazing fertilizer. As the food gets low they will leave the bucket through the holes go out into your garden and act similar to earthworms and turn your soil over while they are still pooping out worm castings and improving your soil which is really really needed in some of our beds.
We are excited to see how this works out. We will keep you posted.
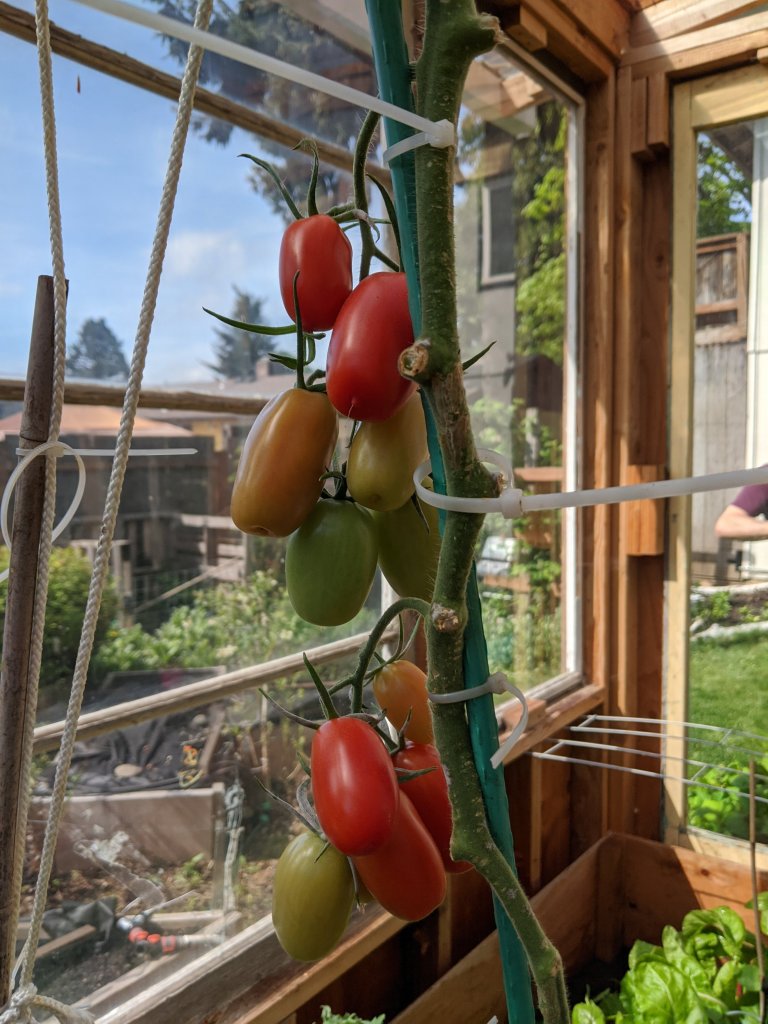
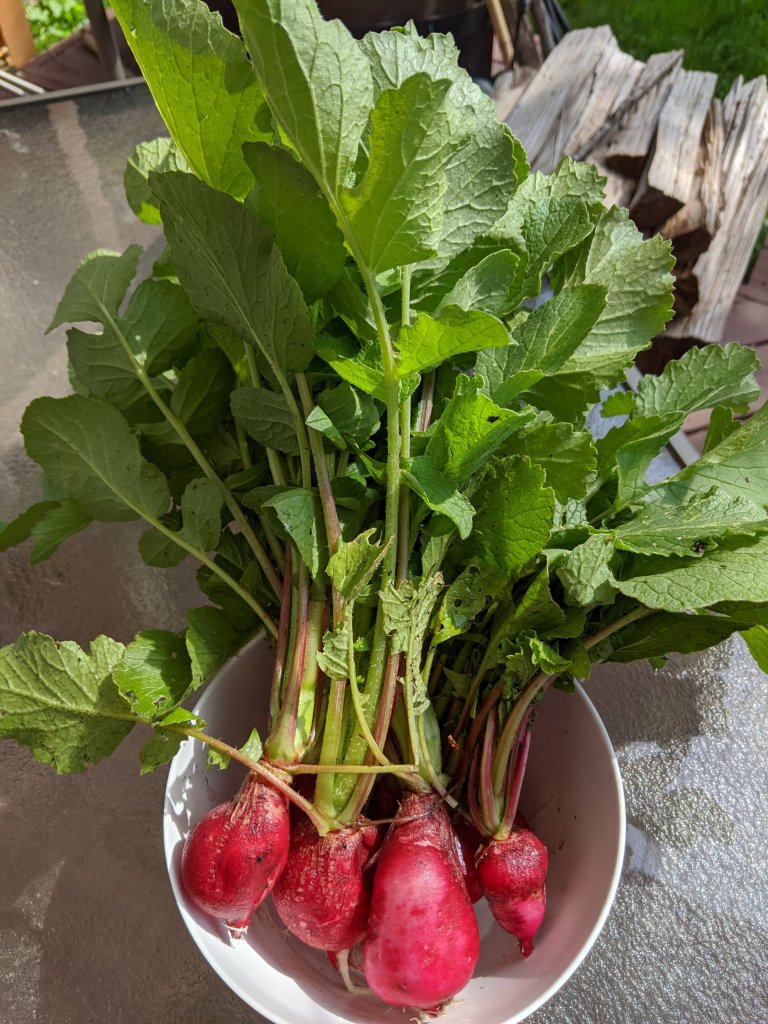
As for the greenhouse we have plenty of greens growing and some onions and carrots I wanted you to see that we saved one of the tomato plants in fact it survived the winter and now has quite a few tomatoes on it. Some of them are turning red as you can see from the picture. And then today I just pulled a big bunch of beautiful radishes for which I will be using the greens to make soup and of course the radishes will be for our wonderful fresh salads.